Tie-dye shirts have become an iconic part of American culture, reminiscent of the classic charm of apple pie. There’s something undeniably uplifting about wearing tie-dye, especially when paired with your favorite rainbow loom bracelet!
While some methods suggest using string, I find that rubber bands work best. Regardless of your technique, the key is to enjoy the process of transforming an old tee into a vibrant rainbow masterpiece.
Table of Contents
Step 1: Choosing the Right Shirt
For optimal results, use a shirt made of 100% cotton. Shirts with a 50% cotton/50% polyester blend will produce less vivid colors. I once dyed a 100% polyester shirt, only to find that the dye washed right off! Natural fabrics like cotton, silk, and rayon bond well with dyes, making cotton the ideal choice.

Step 2: Selecting Your Dyes
Craft stores offer convenient dye kits that include everything you need: rubber gloves, rubber bands, soda ash, urea, and easy-to-follow instructions. The dye comes pre-filled in squeeze bottles—just add warm water. Alternatively, you can buy individual dye packages, which include urea, soda ash, and mixing instructions. If you go this route, you’ll need to get squeeze bottles separately.
I recommend using Procion dyes from Dharma Trading. Their website provides a great selection of dyes and accessories: Dharma Trading Procion Dyes. Procion dyes are known for their bright, vibrant colors. If you mix dye powder yourself, wear a mask to avoid inhaling the powder.

Step 3: Gathering Your Supplies
If you’re not using a pre-packaged kit, you’ll need Procion dye, rubber bands, rubber gloves, squeeze bottles, urea, soda ash, large ziplock bags, a soaking tub, and a wooden dowel or similar tool for twisting the shirt. Additional items like a funnel, measuring cup, paper towels, paper plates, and old rags will help keep the process neat and tidy.
Step 4: Preparing the Shirt
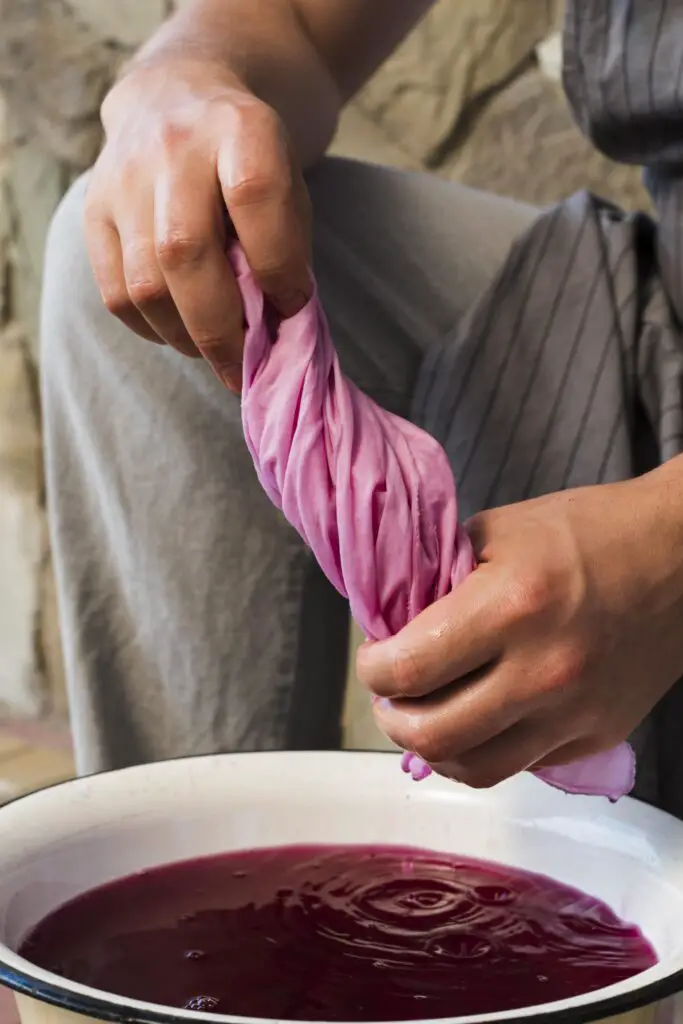
To ensure the dye bonds well, soak the shirt in a mixture of warm water and soda ash for about 10 minutes. Follow the soda ash instructions for the correct ratio and add a few tablespoons of salt to the mix. The water temperature should be similar to a baby’s bath. Since soda ash is slightly caustic, wear rubber gloves if you have any cuts. After soaking, wring the shirt thoroughly to remove excess water; the drier it is, the better the dye will adhere. If starting with a new shirt, wash it first to remove any sizing that could interfere with the dye.
Step 5: Creating the Rainbow Swirl Pattern
Once the shirt is soaked and wrung out, lay it flat on a surface, with the right side down for a sharper front pattern. Place the dowel (or your finger, or a wooden clothespin) in the center of the shirt and twist it clockwise to form a flat, pie-like shape. You can twist counter-clockwise if you prefer; the direction doesn’t matter.

Step 6: Securing the Shirt
After twisting the shirt into a pie shape, secure it with rubber bands. Place several bands around the shirt and add more on the other side to keep the shape intact. Ensure the shirt remains as flat as possible before proceeding to dye.
Step 7: Preparing Your Workspace
Cover your work surface with plastic to prevent staining. Wear old clothes and shoes, as dye can stain surfaces. Rubber gloves are essential to avoid stained hands, which can be quite a hassle to remove. Keep rags handy for cleaning up spills. If you’re using squeeze bottles, ensure the caps are tightly sealed and consider covering the bottles with old socks to prevent leaks.
Step 8: Applying the Dyes
Place your shirt “pie” on a few layers of paper towels on a plastic-covered surface. This setup makes it easier to flip the shirt and apply dye to both sides. Use rubber gloves during this process.
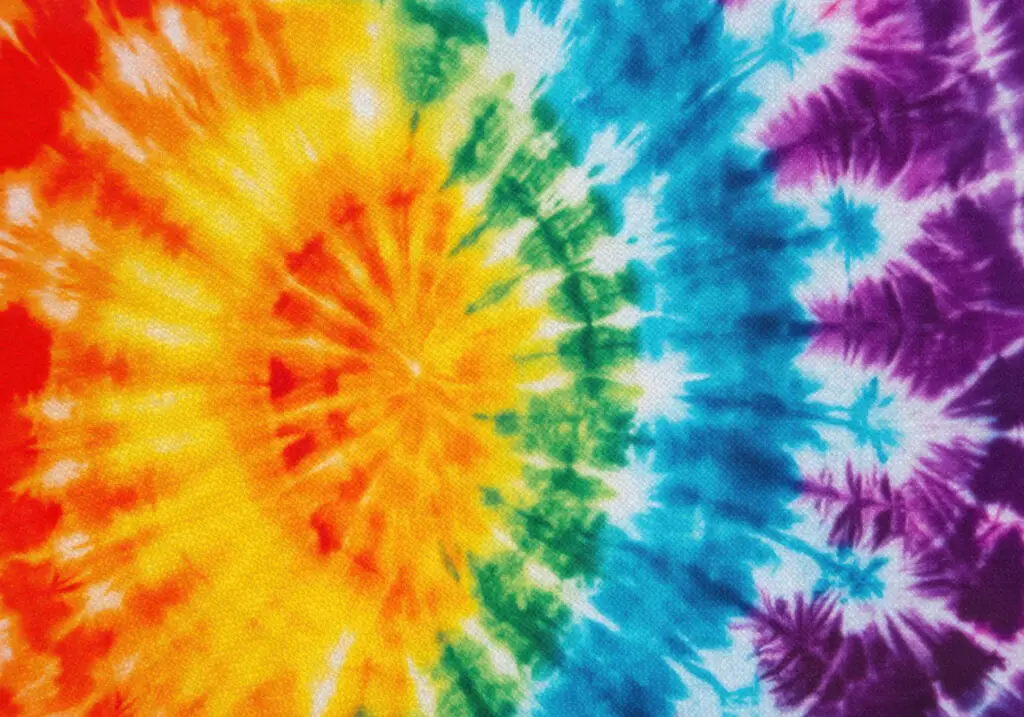
For a classic rainbow swirl, I typically use three colors: fuchsia red, turquoise, and lemon yellow. Apply lemon yellow to one-third of the shirt, fuchsia red to another third, and turquoise to the final third. Avoid leaving any white spots and overlap the colors slightly to create additional hues like green, purple, and orange.

Step 9: Dyeing the Other Side
After dyeing the first side, carefully flip the shirt over to apply dye to the second side. Ensure that the colors match up with the ones on the first side to maintain a consistent rainbow swirl pattern. If the colors do not align, you might end up with a different pattern.

Step 10: Waiting for the Dye to Set
Place the dyed shirt in a ziplock bag and seal it tightly. Leave it in a warm place for at least 24 hours to allow the dye to bond with the fabric. You can unwrap it after 8 hours if you’re impatient, but for the best results, let it sit for up to 36 hours. Avoid waiting too long, as the colors may become fuzzy. When you’re ready to unwrap the shirt, wear gloves to avoid a mess.
Step 11: Revealing Your Creation
After the waiting period, remove the shirt from the bag and carefully take off the rubber bands. Rinse the shirt under cold water to remove excess dye, which might cause the water to turn dark. This is normal. Continue rinsing until the water runs clear. Once rinsed, wash the shirt in the washing machine on its own to avoid color transfer.
Step 12: Enjoy Your Masterpiece!
Your tie-dye shirt is now ready! I hope it turns out as beautiful as you envisioned. Enjoy your unique creation and proudly wear your vibrant, handcrafted garment.
Step 13: Embracing the Tie-Dye Craze
Once you’ve caught the tie-dye bug, you’ll find yourself eager to transform any white cotton garment in sight. Your family might even start hiding their cotton items to avoid your colorful experiments! Embrace your new title as the “Tie-Dye Queen” and keep creating vibrant designs.


This is a really interesting guide on tie-dyeing! I’ve always wanted to try it but wasn’t sure where to start. I like how you emphasized the importance of using 100% cotton for vibrant results—I’ll definitely keep that in mind. The tip about soaking the shirt in soda ash and salt is something I hadn’t heard before, so I’m curious to see how it affects the final look. Do you think it’s worth investing in a pre-packaged kit, or is it better to buy the materials separately for more control? Also, I’m wondering if you’ve ever experimented with other natural fabrics like silk or rayon—how do they compare to cotton in terms of dye absorption? I’d love to hear more about your experiences and any other tips you might have!
This is a really interesting guide on tie-dyeing! I’ve always wanted to try it but wasn’t sure where to start. I like how you emphasized the importance of using 100% cotton for vibrant results—I’ll definitely keep that in mind. The tip about soaking the shirt in soda ash and salt is something I hadn’t heard before, so I’m curious to see how it affects the final look. Do you think it’s worth investing in a pre-packaged kit, or is it better to buy the materials separately for more control? Also, I’m wondering if you’ve ever experimented with other natural fabrics like silk or rayon—how do they compare to cotton in terms of dye absorption? I’d love to hear more about your experiences and any other tips you might have!